
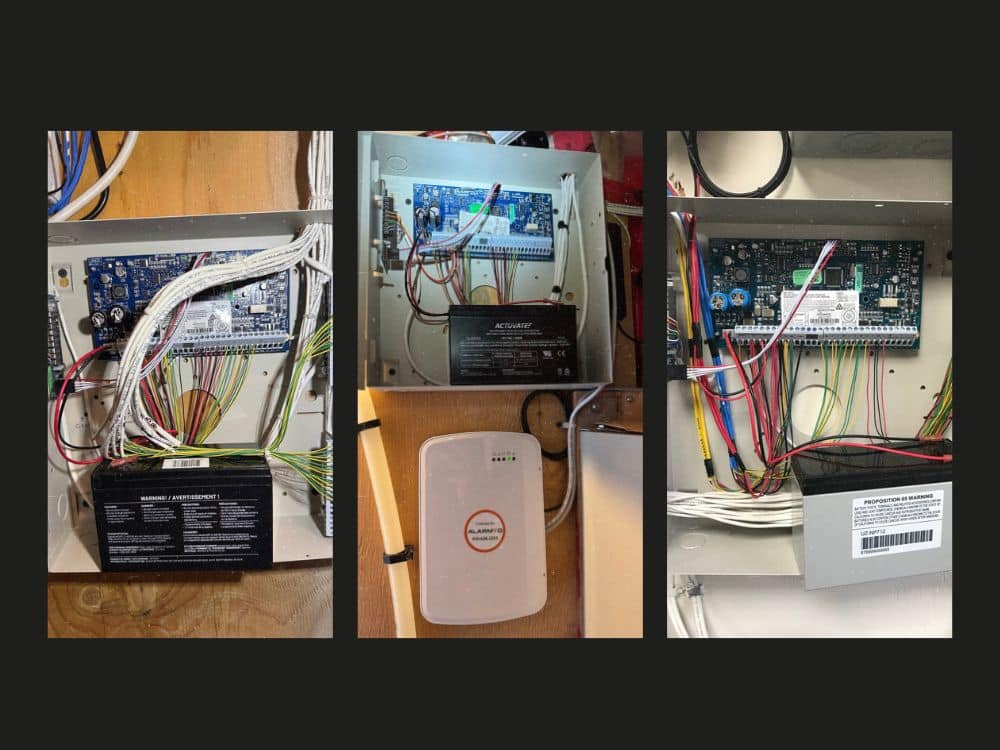
The Right Way to Install Security Alarm Hardware (Step-by-Step)
A lot of people assume installing a security alarm is basically sticking a few sensors on and calling it a day. It’s not, and honestly, that assumption is exactly why so many DIY installs end up with blind spots nobody notices until something actually happens.
Before you decide whether this is a weekend project or a job for someone else, it helps to understand what actually goes into it. Here’s what’s really involved, and why most homeowners end up having it installed professionally instead of doing it themselves.
What Hardware Actually Comes With a Security Alarm System
A typical system isn’t just “a sensor and an app.” There are several pieces, and each one has its own placement rules that aren’t obvious until you’re standing in your living room trying to figure out where the panel should go:
- Control panel : the brain of the system, and its placement affects signal strength to every other device
- Door and window sensors : small two-piece magnetic sensors, sensitive to how precisely they’re aligned
- Motion detectors : need to be angled to avoid heat sources and direct sunlight, or they’ll trigger constantly
- Siren : audible alarm, sometimes built in, sometimes separate
- Keypad : where you arm and disarm the system
On paper it looks simple. In practice, getting all five of these to actually talk to each other reliably is where things get complicated.
What “Installing It Right” Actually Involves
There’s a difference between mounting hardware on a wall and installing a system that actually catches every entry point. Here’s roughly what goes into a proper install:
Mapping the house first. Every entry point needs to be identified before a single screw goes in, not just front and back doors, but ground-floor windows, garage access, and anything a burglar would realistically try first.
Getting the panel placement right. The control panel needs a strong connection to every sensor in the house. In homes with brick walls, metal framing, or a lot of concrete, signal drops off fast, and you often don’t find out until a sensor stops reporting weeks later.
Precise sensor alignment. Door and window sensors have to sit within a very tight gap to trigger reliably. Off by a little, and the sensor either won’t trip at all or gives false alarms every time the wind rattles a window.
Testing before anything is finalized. This is the step that gets skipped most, and it’s the one that actually matters, every door, every window, every motion zone needs to be triggered and confirmed before the job is considered done.
This is the part that surprises most people: it’s not really about screws and brackets. It’s about signal mapping and testing, which takes equipment and experience most homeowners don’t have lying around.
Why DIY Installs Usually Go Wrong
A few things come up over and over with self-installed systems:
- Dead zones : a sensor that looks installed but never actually reports back, usually because of wall material or distance from the panel
- False alarms : almost always from motion detectors aimed at a heat vent or a sunny window
- Gaps between sensor halves: close enough to look right, not close enough to work
- No real signal testing : most people arm the system once, it seems fine, and they never actually test every zone individually
None of these show up on install day. They show up three weeks later when a door doesn’t trigger the alarm, or the panel starts dropping connection to one sensor and nobody knows why.
This is exactly the gap professional installation is built to close. Alarmto’s technicians map signal strength room by room, place every sensor with the right alignment, and test every single zone before they leave, the same process outlined above, just done by someone who’s done it a few hundred times already.
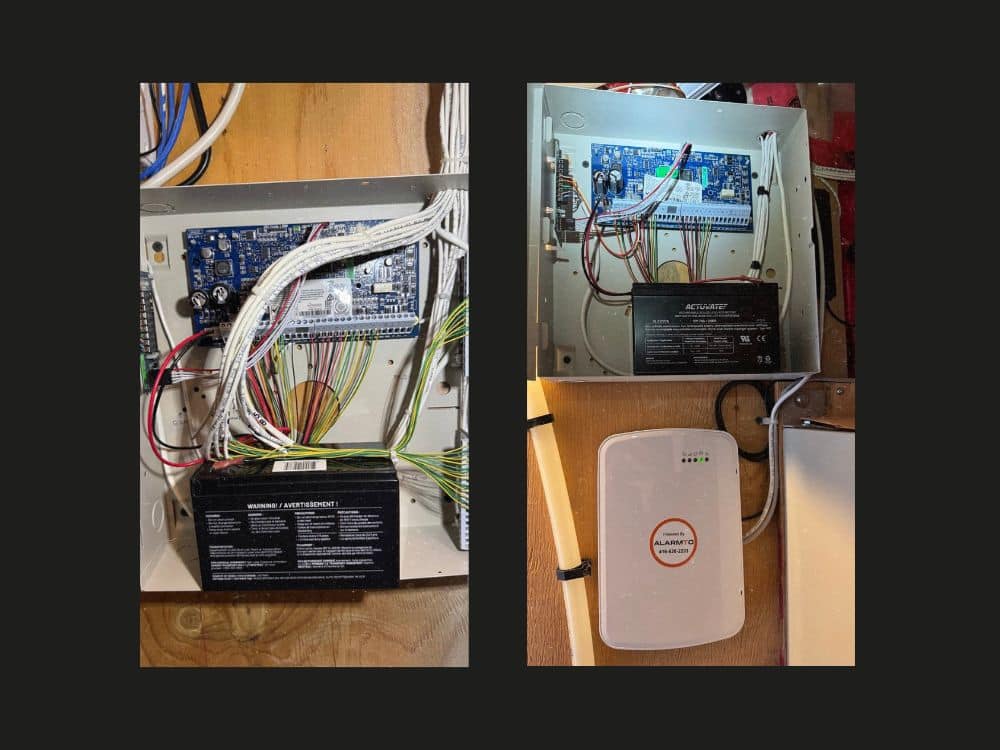
DIY vs. Professional Installation
Technically, yes, you can install a wireless system yourself. Whether it’s worth it depends on how much you value getting it right the first time versus spending a weekend troubleshooting a sensor that won’t connect.
Professional installation costs more upfront, but it comes with two things a DIY job doesn’t: someone who already knows where signal tends to drop in homes like yours, and a system that’s fully tested before anyone walks out the door.
If you’d rather not spend a Saturday testing sensor placement, Alarmto handles the full installation ,signal mapping, sensor placement, and testing included, usually done in under two hours.
Frequently Asked Questions
Can I install a security alarm myself?
Technically yes, but most of the work isn’t the physical mounting, it’s mapping signal strength and testing every zone, which is where DIY installs usually fall short.
How long does professional alarm installation take?
Most professional installs are done in under two hours, since the technician already knows how to map signal and placement efficiently.
Why do DIY alarm installs end up with dead zones?
Usually because of wall material (brick, concrete, metal framing) weakening the wireless signal between the sensor and the panel, something that’s hard to catch without proper testing equipment.
Is professional installation worth it for a wireless system?
For most homes, yes. Wireless systems are easier to mount than hardwired ones, but signal mapping and sensor testing are still where things go wrong, and that’s the part professionals are trained to catch.
Get It Installed the Right Way
The hardware itself isn’t complicated. Getting every sensor to actually work reliably, with no dead zones and no false alarms, is the part that takes experience. Book a professional installation with Alarmto and skip the trial and error entirely.

